In this tutorial we will show you, how you can register your company at payactive and prepare your account in order to send your first Paperless invoice to your customers.
Prerequisites
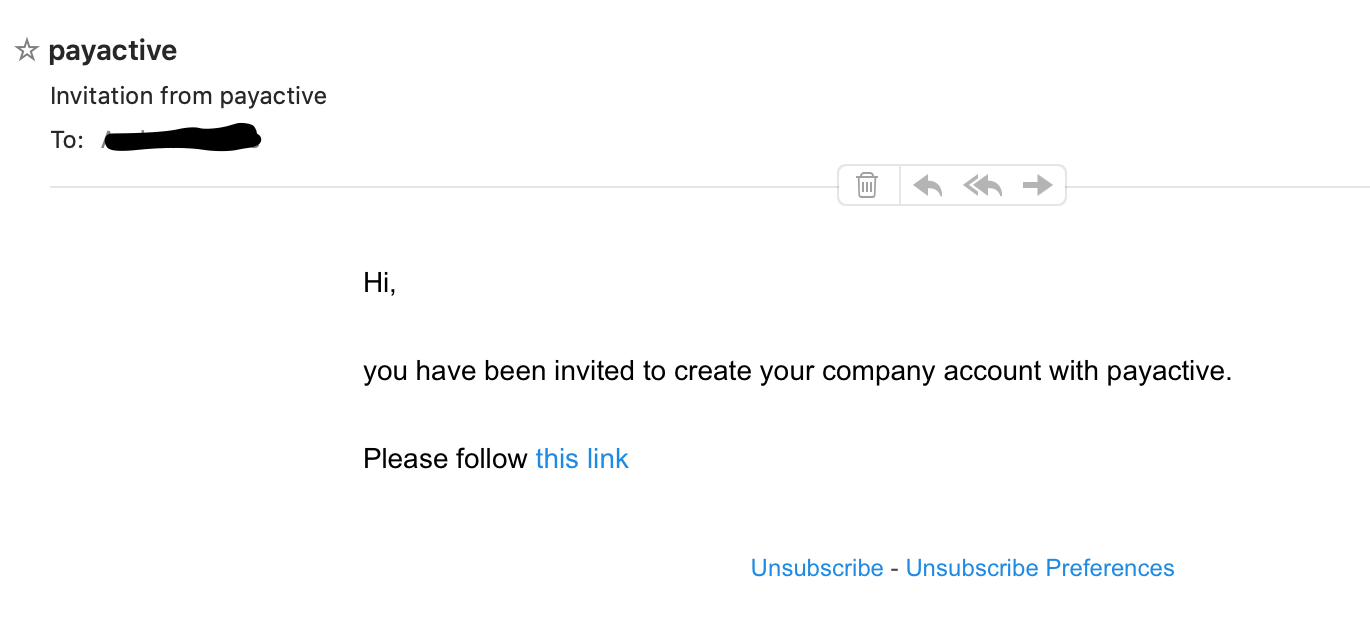
- You received the onboarding E-Mail containing a link to create your company account.
What You'll Learn
- How to create your company account at payactive.
- How to link your bank account with payactive.
- How to improve your customer's experience by uploading your company logo.
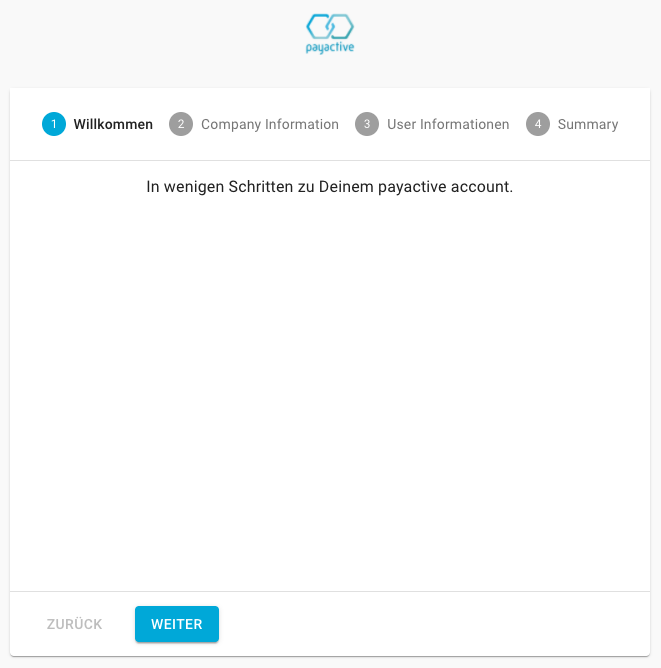
Open the link in the onboarding E-Mail. You should see the onboarding form.
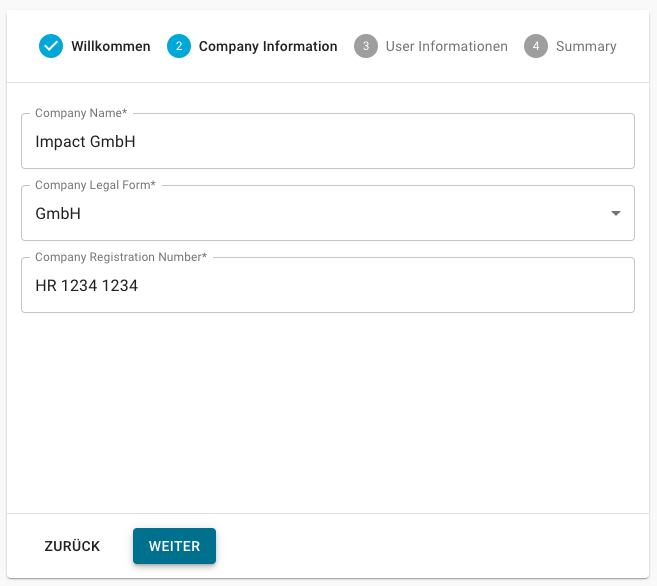
Complete the company information and click on "Weiter".
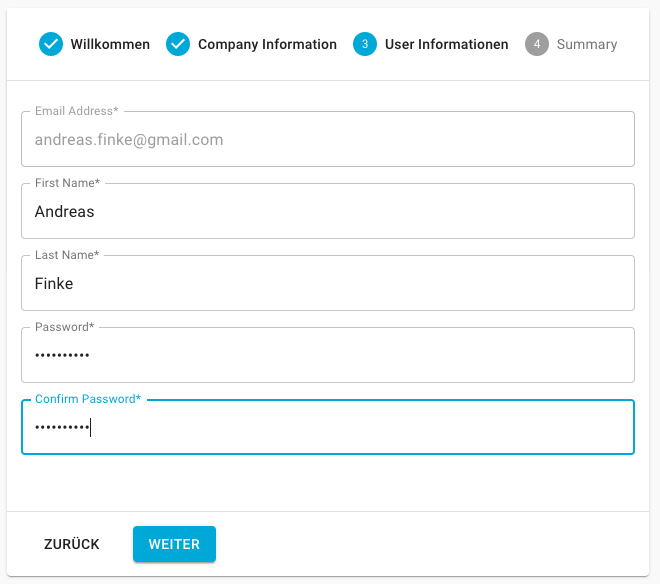
Complete your user information. This is the user that will be able to manage the company account. Click on "Weiter".
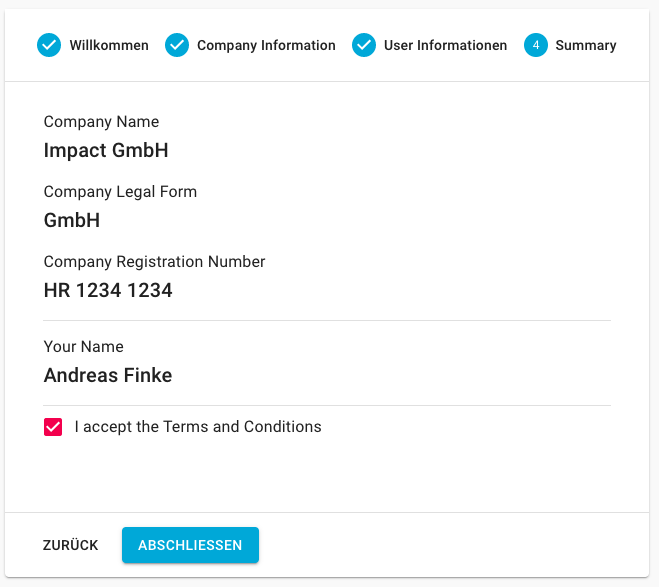
Finally you will be presented with a summary of the information you provided. Accept the terms and conditions and click on "Abschließen".
If everything is correct, you will be automatically logged in.
Before you can receive transactions, you need to link your bank account.
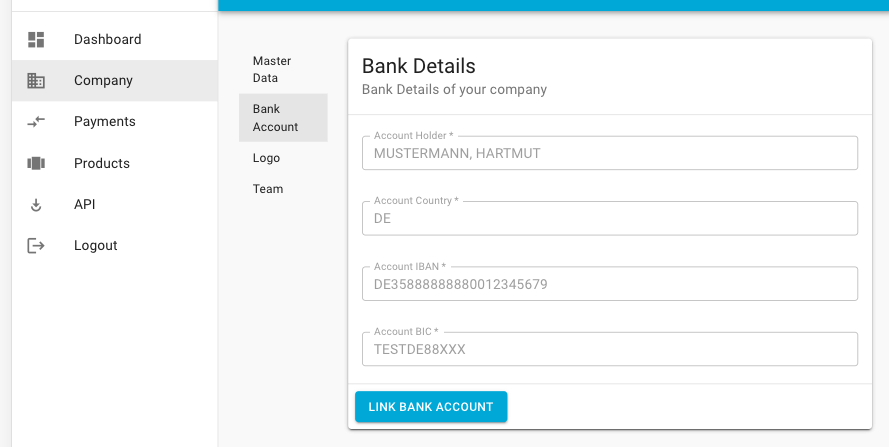
- Go to Company > Bank Account

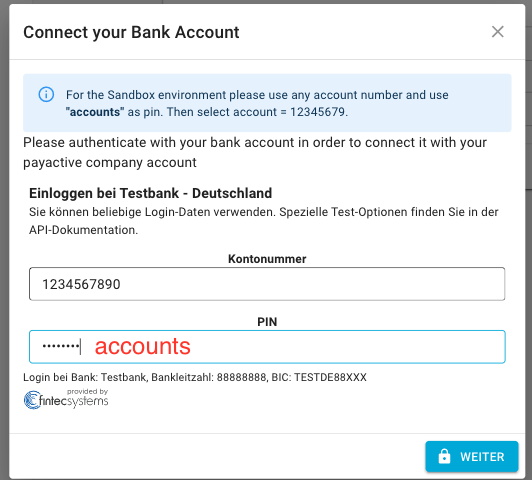
- Click on "Link Bank Account". Follow the instructions. During the process you will be asked to authenticate your bank account and to provide a 2nd factor authentication (such as smsTan, mTan, etc.).
Sandbox Environment
In the next screen please choose the 2nd account "Girokonto Plus".
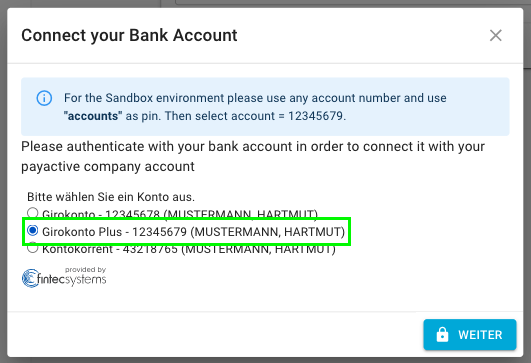
Click on "Weiter". After the validation the account should be visible. In this case you will see the test credentials from the bank account.
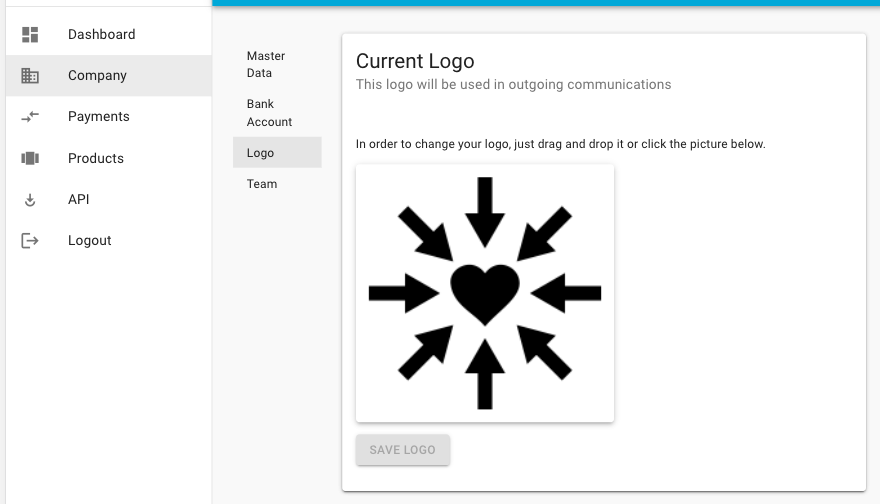
You can personalize the experience for your customers by uploading your company logo. This will increase the visibility of your company in any communication that runs through payactive.
- Go to Company -> Logo
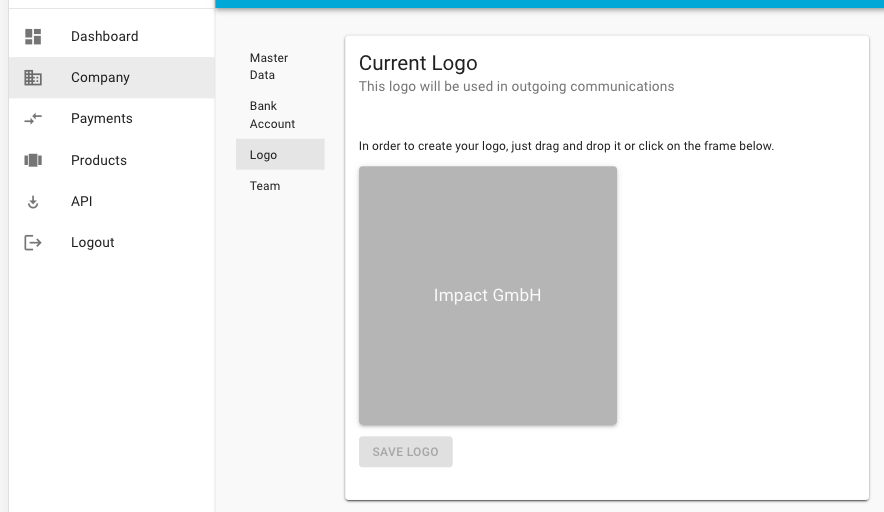
- Click on the empty frame and upload a logo of your choice. Click on "SAVE LOGO".
You learned how to create an account for your company at payactive. Now you are all set to send your first Paperless invoices with impact 🌱
Learn more
- Send your first Paperless invoice through the portal